Custom email templates with Ory
Customize email templates for all out-of-band communication. With code examples!

Developer Advocate
In this guide, you will learn how to use custom email templates with on the Ory Network through a hands-on example.
Introduction
Emails are the most popular solution for out-of-band communication with end users. Ory Identities comes with preconfigured email templates using a modern and neutral styling. Many users want to use their own branding in all interaction with end users - this is where custom email templates come in.
Ory calls the different authentication processes "Flows". For example, logging into a web application is the "Login Flow": A series of actions, redirects, and events that give an end user a valid session. Read more about flows in the documentation.
Flows like "Email Verification" or Forgot Password" use out-of-band communication. It is also possible to configure other message services like SMS.
Ory considers SMS an insecure protocol! It is not end-to-end encrypted, there is no guarantee of effective transport encryption, and no way to make sure the parties involved can be trusted. Ory security engineers discourage the use of SMS for security-sensitive operations if possible.
Why use custom email templates
Custom email templates give you full control over the communication with your
end users. You can, for example, style the email in your brand colors, and add
custom fonts, logos, or other graphics. In addition, you can use data to enrich
the email's content dynamically. Benefits to having a custom email template
include coherence of brand communication, consistent style across all domains,
total control over data sent to the end user, and more...
Write me if you can think of any more benefits or
disadvantages.
How to create a custom email template
There are two main template types that you can create: HTML and plain text. The HTML template allows for a lot of customization - you can style the email just like you can style any website. You guessed it: The plain text template is less exciting and just consists of plain text. It is usually used as a fallback when the email recipient can not receive the HTML email. To add a custom email template you first need to create the HTML template.
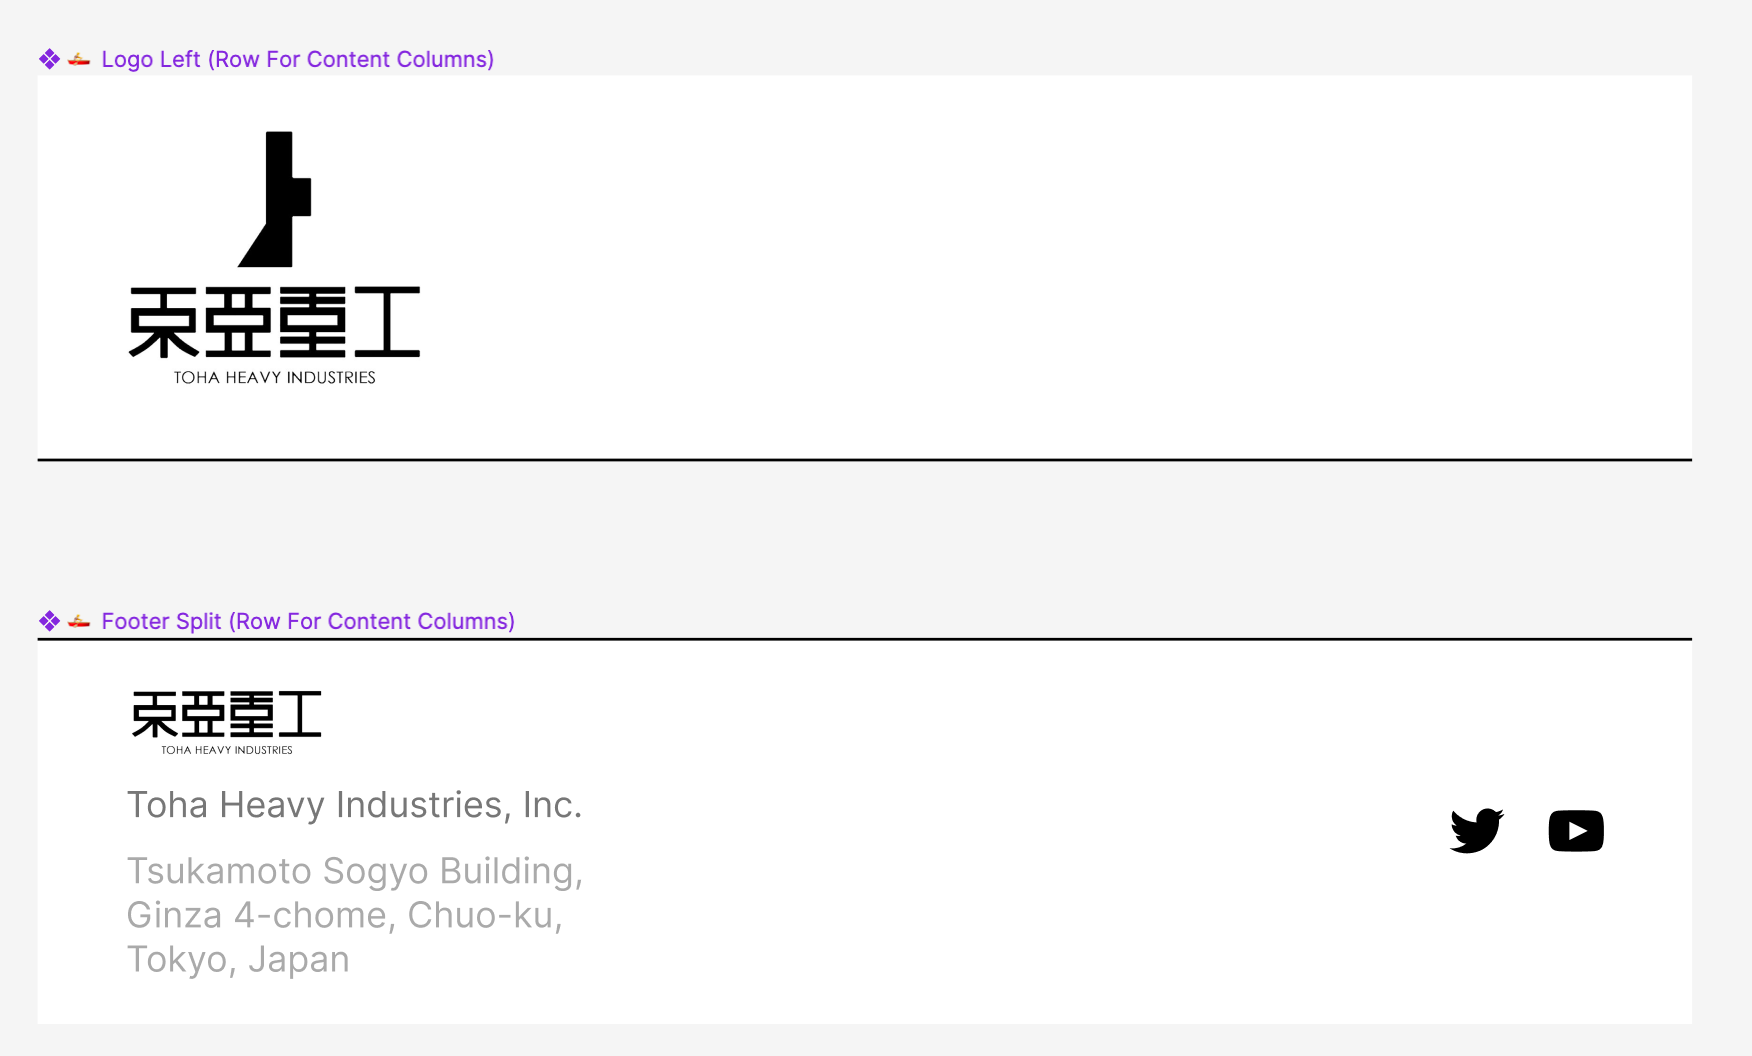
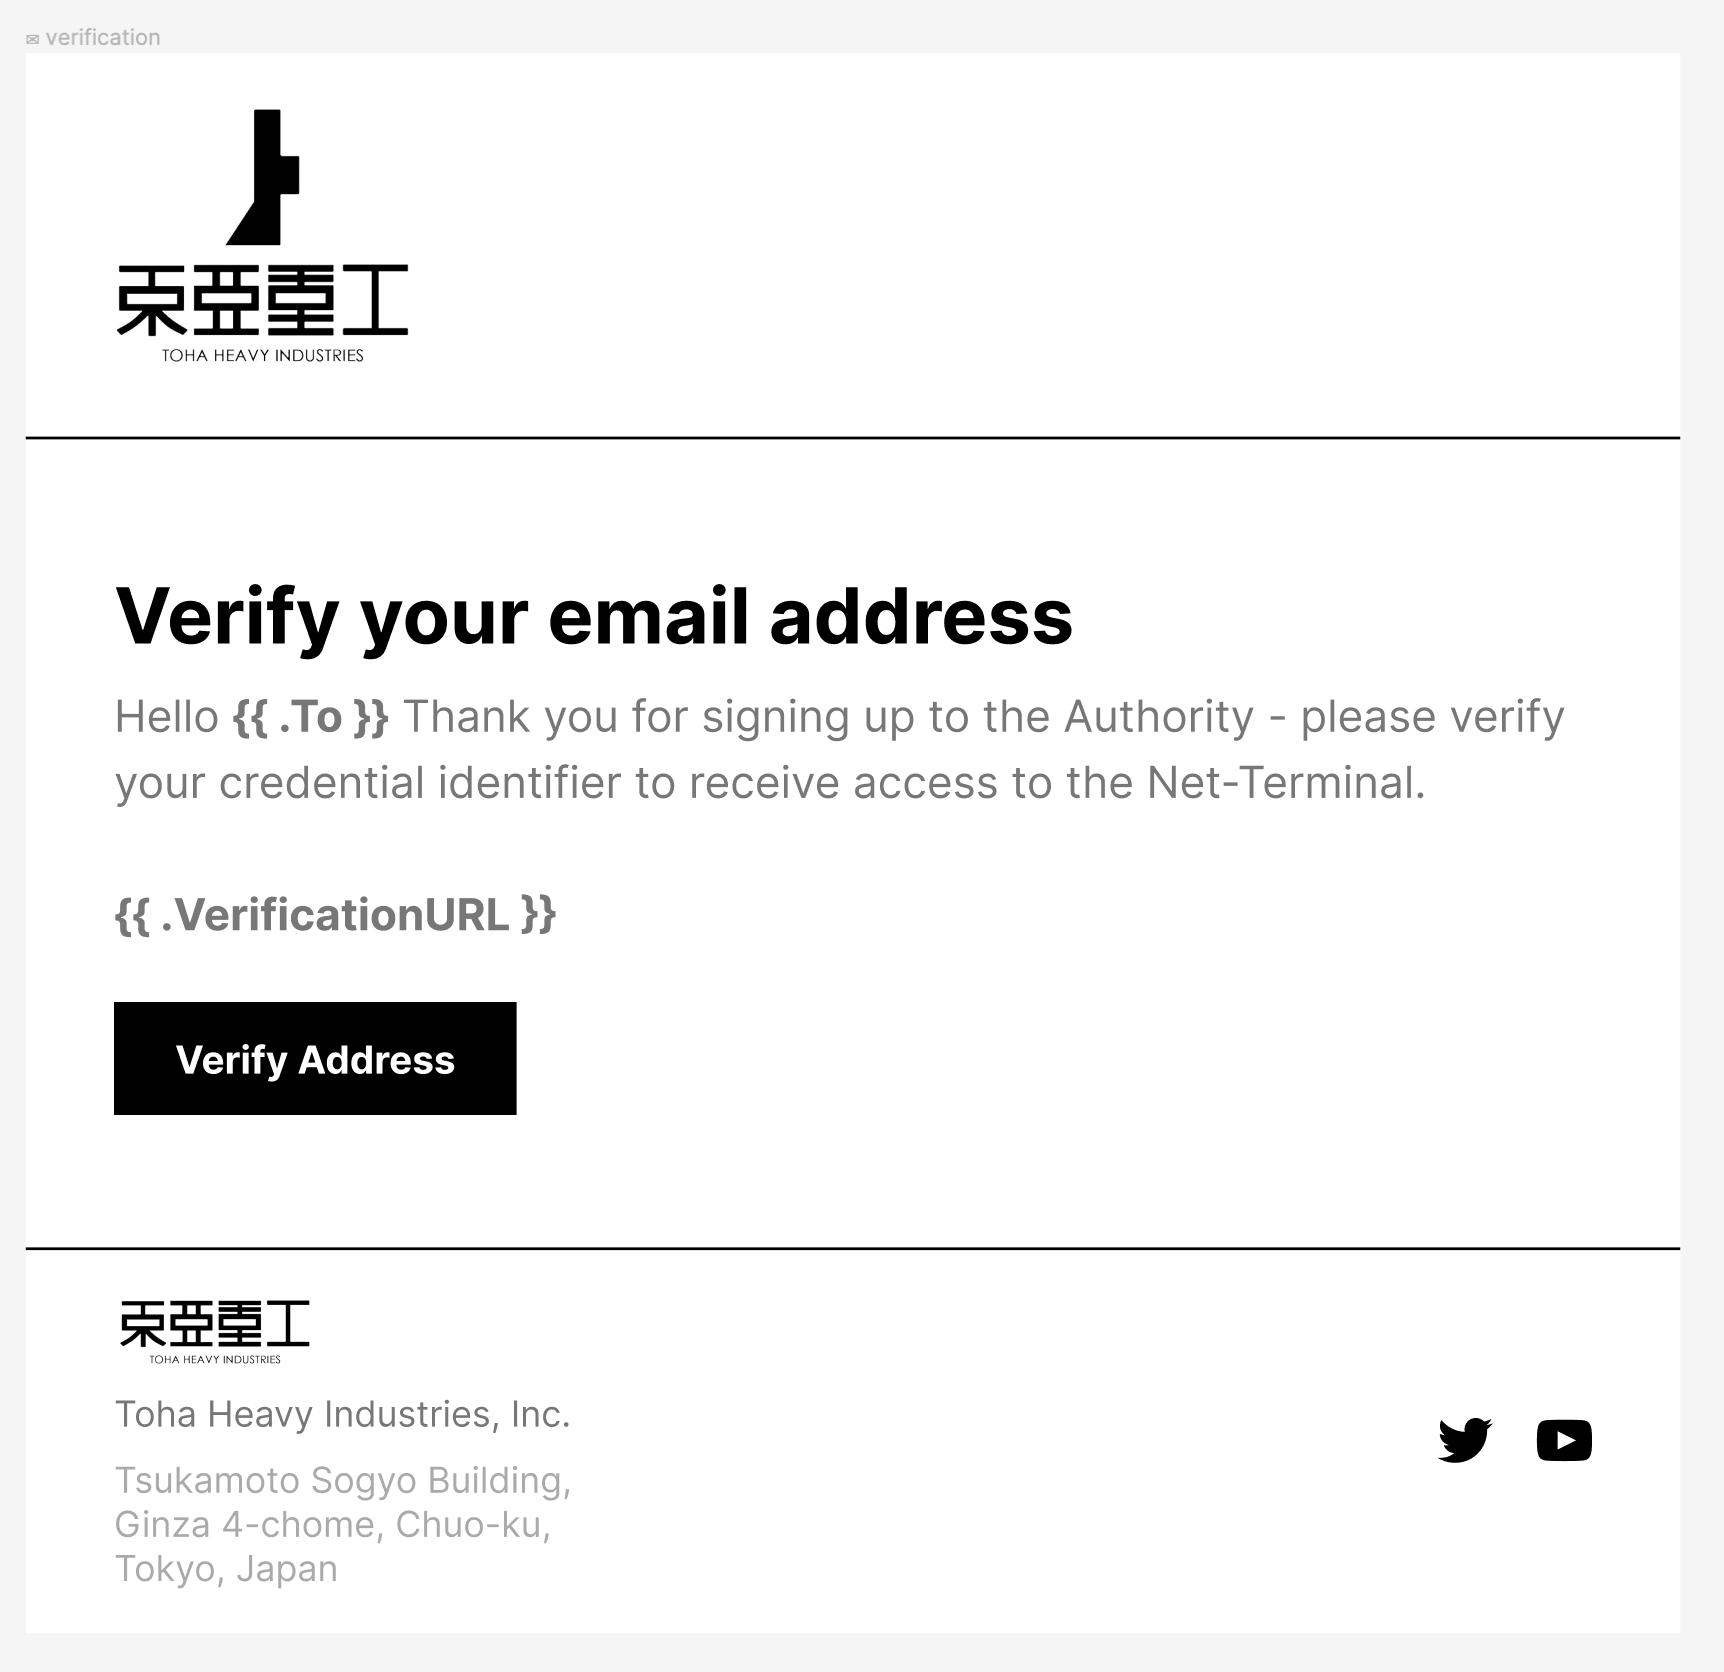
In this example, I created an email template using emailify in Figma. jfcurran helped me out by creating some great-looking templates. The template is very simple and consists of a header, a body, and a footer. In the header, we added the logo for our imaginary company, and the footer contains the logo in small, some basic information, and links to our socials.

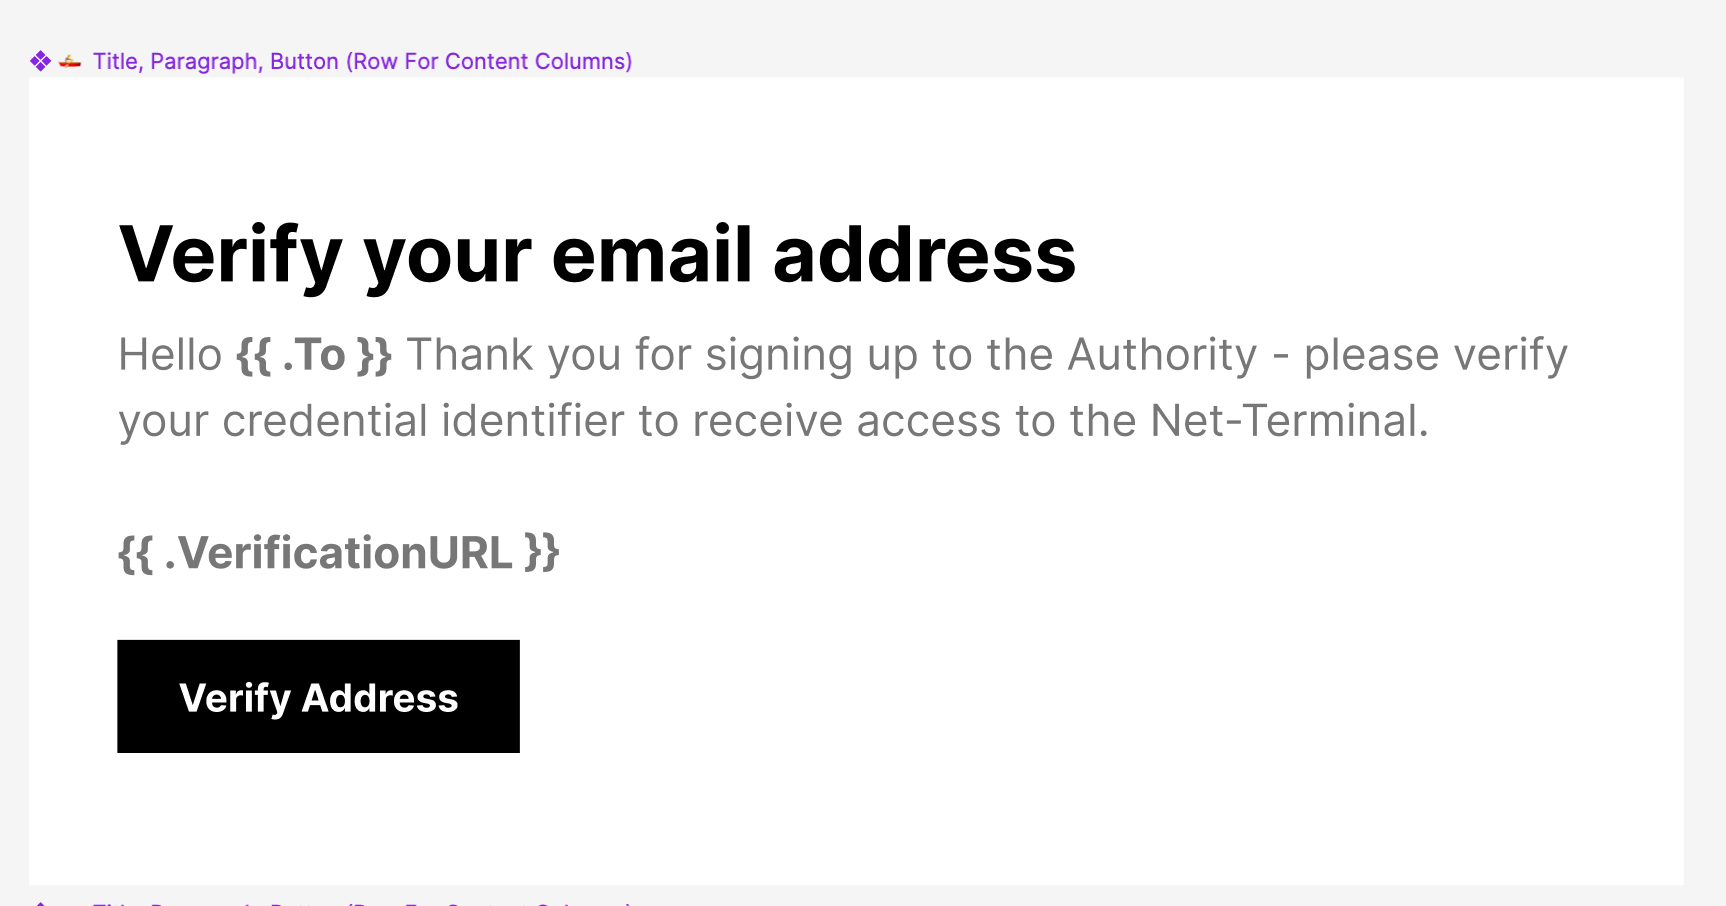
Most of the action happens in the body. We created four different bodies for our four different flows: verification flow, recovery flow, and an "invalid" variant for when these flows are started for an identity/email that does not exist in our system. We need the "invalid" variants for example when a recovery flow is started for foo@example.com, but this email was never used on account registration (an email with this account doesn't exist).

The full custom email template for valid verification requests:

Now that we have a great template for valid verification requests, we need the ones for an invalid verification flow, as well as valid and invalid recovery flows. Finally, we export the templates as HTML. The generated code is not pretty, but that's needed for it to look consistent in all email clients. All in all, it did not take us long to create these templates and I hope you have some fun along the way! You can find the completed templates in this repository.
Use identity data in email
You can use the Identity object in email templates to send the verification
link, and customize the email with the recipient's name. The Identity object
is a map containing all the attributes of an identity defined in the identity
schema. To access the object use .Identity and add the attribute in lowercase,
for example to add the identity state to your template use
\{\{ .Identity.state \}\}, for the ID use \{\{ .Identity.id \}\}. In the
above templates \{\{ .To \}\} is used to recall the recipients' name and
\{\{ .VerificationURL \}\} to include the verification link.
Also interesting are
identity traits,
use them with Identity.traits.$yourtrait. For example to recall the email use
{{ .Identity.traits.email }} (in this instance you can also use the
recipient object \{\{ .To \}\}). The identity schema used in this example also
uses a first and last name trait, as well as an object for the users favorite
animal!
    "traits": {
      "type": "object",
      "properties": {
          "type": "object",
          "properties": {
            "first": {
              "type": "string",
              "title": "First name",
              "maxLength": 256
            },
            "last": {
              "type": "string",
              "title": "Last name",
              "maxLength": 256
            }
          }
        },
        "animal": {
          "type": "string",
          "title": "Favorite Animal"
        },
...
To recall these traits use
\{\{ .Identity.traits.name.first \}\} \{\{ .Identity.traits.name.last \}\} and
\{\{ .Identity.traits.animal \}\}. Check out how these traits are added to the
example for this blogpost
in this commit.
Use custom email templates
Next, you have to register your custom templates. In this guide, I use the Ory
Network but the process is the same for
self-hosted Ory Kratos deployments.
You can create a free Developer project
for testing if you don't have one already or use ory create project on the
CLI.
To add custom email templates you have to inline them base64 encoded in the
Ory project configuration - in the identity-config. You get the configuration
using the Ory CLI:
ory get identity-config $PROJECTID --format json-pretty > ory-config.json
# $PROJECTID is your Ory Network Project ID
Unsure how to get your Ory Network Project ID? ory list projects lists all
your projects with ID, slug, state, and name.
Now open up ory-config.json and look for the following section near the top of
the configuration.
  "courier": {
    "smtp": {
      "from_name": "Test via Ory"
    },
    "templates": {
      "recovery": {
        "invalid": {
          "email": {
            "body": {}
          }
        },
        "valid": {
          "email": {
            "body": {}
          }
        }
      },
      "verification": {
        "invalid": {
          "email": {
            "body": {}
          }
        },
        "valid": {
          "email": {
            "body": {}
          }
        }
      }
    }
  },
This part of the configuration concerns the courier service - the service that
is used by Ory to send out-of-band communication such as email.
You can see that the body of templates is still empty. This is where you are
going to add your template. To add the template, extend the body with an html
object and inline the HTML base64 encoded:
"body":
  {
    "html": "base64://ENCODED_HTML_TEMPLATE",
    "plaintext": "base64://ENCODED_PLAINTEXT_TEMPLATE",
  }
To add the template to your Ory Network Project copy the
respective template
and base64 encode it, for example here. This
will result in a rather long string. Replace the text ENCODED_HTML_TEMPLATE
with that string in the configuration above.
When self-hosting Ory Kratos you upload the HTML file to your hosting service and add the URL directly.
To bring this to production upload this new configuration to our Ory Network project.
ory update identity-config $PROJECTID --file ory-config.json
The base64 encoded template has now been turned back into an HTML file on Ory Cloud. You can check if this worked by exporting the updated configuration again:
ory get identity-config $PROJECTID --format json-pretty > ory-config-updated.json
The email template section should now look something like the following with all
the base64 strings turned into .html on the Ory Network.
    "templates": {
      "recovery": {
        "invalid": {
          "email": {
            "body": {
              "html": "https://storage.googleapis.com/LONGSTRING.html",
            }
You can copy & paste this URL into your browser and if everything worked correctly, you should see your template.
To test out the templates used in this guide, visit the test projects managed UI and use either the recover or verify account flows - you can try it out for a registered email and one that is not registered.
If you enjoyed this guide and want to see more or have feedback, or questions, feel free to message the Ory Team on the Ory Community Slack.
Further reading

How a redirect broke login with Apple for a full day

How Apple broke "Sign in with Apple" with an unannounced and silent redirect

The future of Identity: How Ory and Cockroach Labs are building infrastructure for agentic AI

Ory and Cockroach Labs announce partnership to deliver the distributed identity and access management infrastructure required for modern identity needs and securing AI agents at global scale.